
How To
How to Check Nothing Phone Warranty Status (2026 Guide)

Stay updated with latest tech news
Follow TechiBoy on Google to get updates on smartphones, gadgets, software updates, and more.

Whenever you buy a new Nothing smartphone, it’s always a good idea to check its warranty period. Whether you own the latest Nothing Phone (4b) or an older model like the Nothing Phone (1), the process is simple and only takes a few minutes.
Nothing has expanded its smartphone lineup over the years, and the same warranty checking method works for all supported models.
Supported Nothing Phones
You can use this method to check the warranty status of:
- Nothing Phone (1)
- Nothing Phone (2)
- Nothing Phone (2a)
- Nothing Phone (2a) Plus
- Nothing Phone (3)
- Nothing Phone (3a) Pro
- Nothing Phone (4a)
- Nothing Phone (4a) Pro
- Nothing Phone (4b)
- CMF Phone 1
- CMF Phone 2 Pro
How to Check Your Nothing Phone Warranty
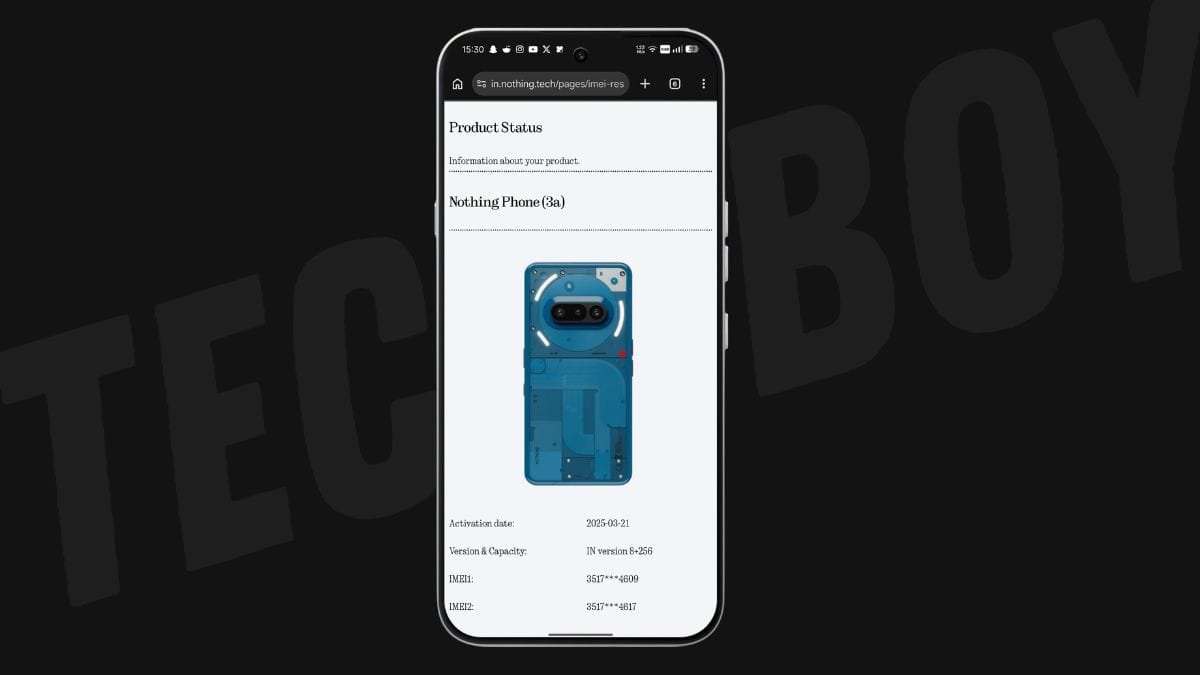
Nothing lets you verify your device warranty through its official Product Status page. You’ll need your phone’s IMEI number or Serial Number (S/N).
Follow these steps:
- Open the Phone app on your Nothing device.
- Dial
*#06#. - Copy any one of the displayed IMEI numbers (or note down the Serial Number).
- Open the Nothing Product Status page in your web browser.
- Paste the IMEI or Serial Number into the search box.
- Tap Submit.

The website will display your device details along with its warranty status, activation date, and other relevant information.
Alternative Method to Find the IMEI Number
If you don’t want to use the dialer code, you can find your IMEI number from the Settings app.
- Open Settings.
- Go to About phone.
- Scroll down to view your IMEI and Serial Number.
You can then copy the IMEI and use it on the Nothing Product Status page to check your warranty.
Why Should You Check Your Warranty?
Checking your warranty status helps you:
- Confirm whether your device is still under warranty.
- Know the warranty expiry date before visiting a service centre.
- Verify warranty details when buying a used Nothing phone.
- Ensure your device information is correctly registered.
That’s it! With just your IMEI number or Serial Number, you can quickly check the warranty status of any Nothing Phone or CMF Phone through Nothing’s official Product Status page.




Stay updated with latest tech news
Follow TechiBoy on Google to get updates on smartphones, gadgets, software updates, and more.
Google has added a new feature to Veo 3, the video creation tool in its Gemini AI platform. Now, users can turn still images into short videos using artificial intelligence.
How It Works
With this new update, users can upload a photo and Gemini will create an 8-second video clip from it. The video will also include sound, based on your instructions.
To use the feature:
- Go to the Videos option in the tool menu.
- Upload an image.
- Describe the scene you want, and give any audio instructions.
- Gemini will then generate the video, which you can download or share.
Users can also give thumbs up or down feedback to help Google improve the tool.
Who Can Use It?
This feature is available now for Google AI Pro and Ultra subscribers in select countries. The same function is also available in Flow, Google’s AI tool for filmmaking.
Rapid Growth
Google shared that more than 40 million videos have already been created using Veo 3 through the Gemini app and Flow in the last seven weeks. With this new photo-to-video option, that number is expected to grow even faster.
AI Watermarks
All videos made with this tool will include both a visible watermark and a hidden SynthID digital watermark to clearly mark them as AI-generated.
Stay updated with latest tech news
Follow TechiBoy on Google to get updates on smartphones, gadgets, software updates, and more.
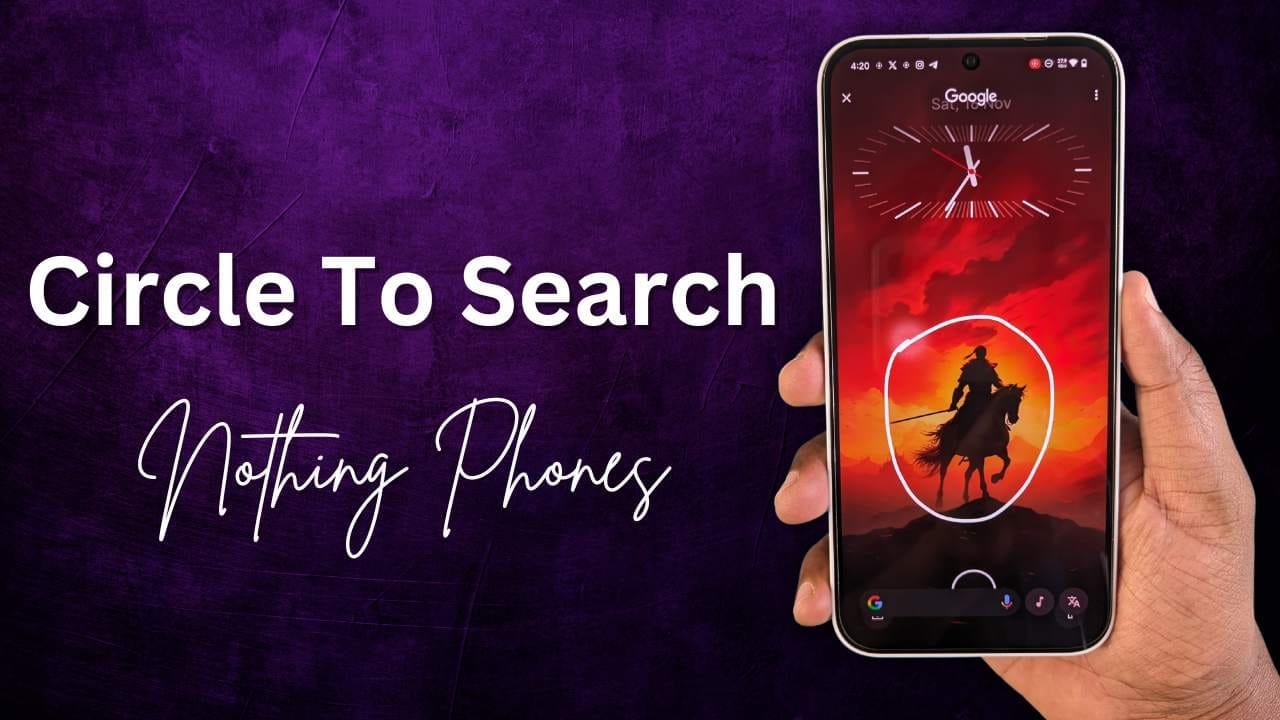
The “Circle to Search” feature is not officially available on Nothing Phones yet, even with the Nothing OS 3.0 Beta based on Android 15. However, there’s a workaround using an app called MiCTS that enables this functionality on Nothing Phones.
What is Circle to Search?
“Circle to Search” is a Google feature that lets you search for information on your screen using gestures like circling, highlighting, or tapping. It’s useful for:
- Researching topics like restaurants or movies.
- Identifying objects, animals, or landmarks in videos.
- Learning about new things instantly from images or text.
How to Enable Circle to Search on Nothing Phones
You can use the MiCTS app to enable the Circle to Search feature on your Nothing Phone, whether it’s Nothing Phone (1), Phone (2), Phone (2a), Phone (2a) Plus, or CMF Phone 1. Here’s how:
Step 1: Install the MiCTS App
- Download and install the MiCTS app on your Nothing Phone.
- The installation process is straightforward and works on Nothing OS 3.0 or earlier.
Step 2: Set Up Gesture for Easy Access
Since the app doesn’t work directly with screen gestures by default, you need to assign it to a shortcut:
- Go to Settings on your Nothing Phone.
- Navigate to Special Features → Gestures.
- Select Double Press Power Button and assign it to MiCTS.
Now, whenever you double-press the power button, the Circle to Search feature will be activated.
How the Official Circle to Search Works
Once officially rolled out with Android 15, Circle to Search can be activated on supported Android phones by:
- Long pressing the Home button (for 3-button navigation).
- Long pressing the navigation handle (for gesture navigation).
- Circling, highlighting, or tapping on the screen to search for relevant information.
Search results appear at the bottom of the screen, making it easy to learn more about:
- Videos, images, or texts.
- Landmarks, movies, or dog breeds.
- Homework topics and more.
For now, the MiCTS app is a great solution for Nothing Phone users who want to try this innovative feature.

Stay updated with latest tech news
Follow TechiBoy on Google to get updates on smartphones, gadgets, software updates, and more.
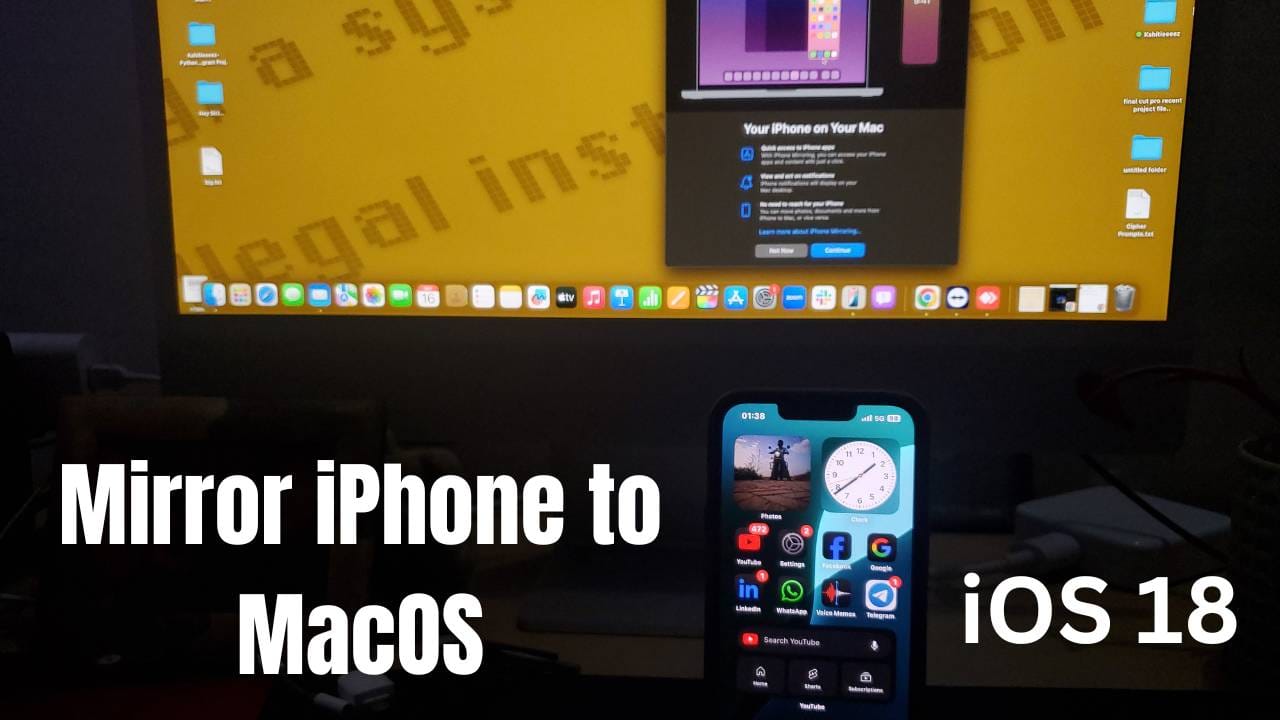
Ok, so Apple, an American Tech Giant has recently rolled out the stable version of iOS 18, iPadOS 18, watchOS 11, and macOS 15 i.e. macOS Sequoia on 16th September. If we particularly talk about the latest macOS Sequoia, then Apple has introduced a new iPhone mirroring app from which you can mirror your iPhone to your MacBook or iMac.
How to mirror iPhone to iMac or MacBook?
In this post, I am going to tell you a step-by-step guide on how you can mirror your iPhone into a MacBook or iMac. Before we further proceed to the steps, do remember that we can mirror our iPhone to iMac or MacBook using two methods i.e. Wired and Wireless. Let’s move on to both methods one by one.
Note:
Whatever method you are using Wired or Wireless, make sure to first turn on the AirPlay Receiver by going into Settings > General > AirPlay & Continuity. After that, you have to select Everyone in Allow AirPlay For.

Make sure to enable Wi-Fi and Bluetooth on your iPhone.

Wired Method
After doing this, let’s move on to the first method. So, for the Wired Method, you have to follow the steps that are listed below:
First, you have to connect your iPhone to your iMac or MacBook. After that, leave your phone aside and you have to click on the iPhone Mirroring option presented in the Dock as shown in the image below.

Then, you have to click on Continue.

After that, you have to enter the passcode on your iPhone.


Then, you have to click on Allow, to allow Notifications from iPhone. So, that they can be shown on your iMac or MacBook.

Then, click on Get Started.

If you see a screen as like this which is shown below, then you have to enter your iMac or MacBook Lock Screen password.

Then, you will see this Connecting to (your iPhone Model).

That’s it.


After doing this, you can use your iPhone from your MacBook or iMac. Also, your notifications can be shown on your iMac or MacBook and you can directly reply to messages from your iMac or MacBook without touching your iPhone.
Wireless Method
Now, let’s move on to the second method, which is Wireless. In this method, you don’t need any wire. So, for this method, every step is the same as the wired one. But in this wire is not required. So, you just have to make sure that your iPhone and your MacBook/ iMac must be connected to the same Wi-Fi network.

Note: You just have to connect your iPhone and your iMac/ MacBook to the same Wi-Fi network. No matter whether Mobile Data is turned on/off. It will work with or without Mobile Data.
How to remove your iPhone and mirror another iPhone?
As you now know how you can mirror your iPhone to an iMac or MacBook, let’s discuss how you can remove your iPhone and mirror a different iPhone to your MacBook or iMac. So, you can do that from your iPhone or the MacBook/ iMac. First, I am going to tell you how you can remove it from your iPhone. So, to remove it from your iPhone, you have to follow the steps that are listed below:
First, open Settings on your iPhone

Then, you have to click on General > AirPlay & Continuity > iPhone Mirroring.


Then, you have to swipe left your Mac name as in my case it’s Kiddle’s iMac and click on Delete.

Or you can click on Edit.

Then, you have to click on the red and white coloured icon present before the name as shown in the image.

Later on, you have to click on Delete.
How to remove your iPhone Mirroring from your iMac or MacBook?
Suppose, you want to remove your iPhone from iPhone Mirroring from your iMac or MacBook using iMac or MacBook and want to connect another iPhone. So, in that case, you have to follow the steps that are listed below:
First, you have to click the iPhone Mirroring as shown in the image.

After that, you have to click on Settings.

Then, you have to click on Reset iPhone Access.. which is present in the bottom left side.

At last, click on Reset.

That’s it.
What are your thoughts about this iPhone mirroring feature? Do you think it is useful for you? Do let us know in the comments. Also, tell us whether you find this post useful or not.